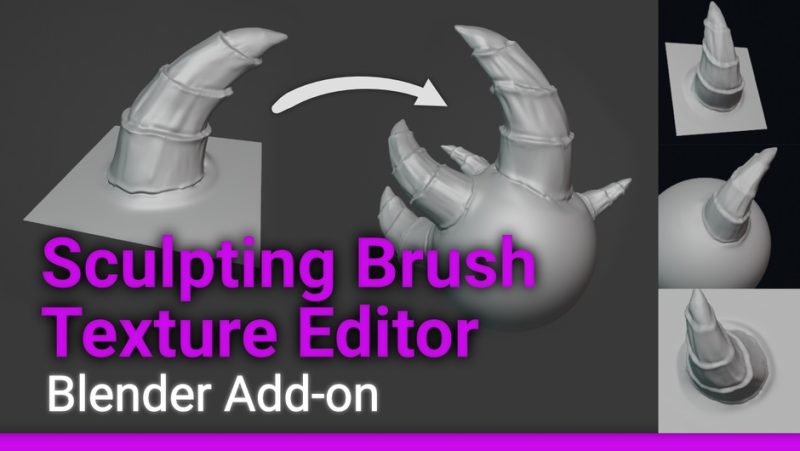

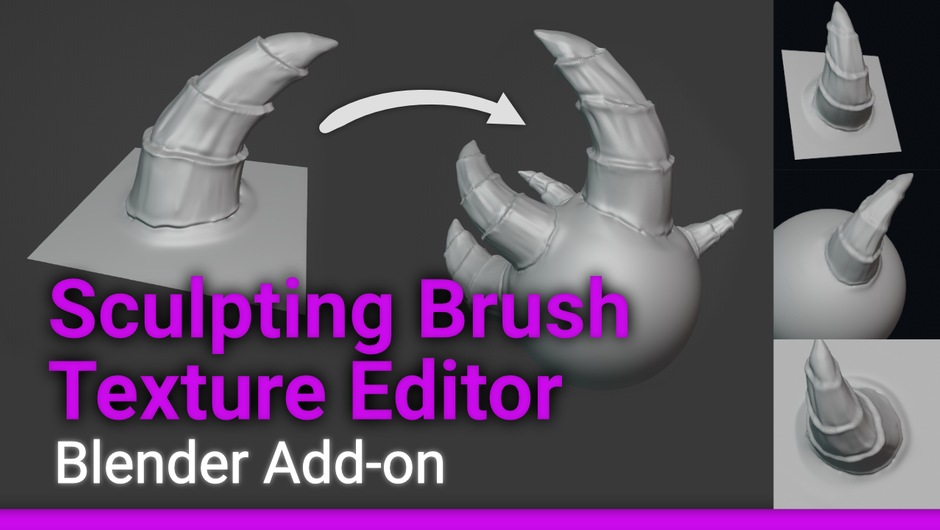
官方一句话把三个「自动」都说完了:Create or load vector displacement and height map sculpting brushes easily in one click. Previews are created automatically and all necessary settings are set. You can continue sculpting with your new brush immediately.(一键创建或载入 VDM 与高度图雕刻笔刷。预览自动生成、所有必要设置自动配好,你可以立刻用新笔刷继续雕。)
★ 这三件手动做有多麻烦?你要:雕形状 → 从上方正交渲染深度 → 转成灰度贴图 → 存盘 → 新建笔刷 → 挂纹理 → 调映射模式(Area / Stencil)→ 手动画缩略图。一次十几分钟,而且每次都要重复。这个插件把它压成「点两下」。而且雕完点 Render brush and close,它会自动回主场景、自动切到刚做的笔刷——所以你雕完可以立刻接着雕下一块。
★ 最需要讲清的是两种位移的区别:VDM(矢量位移图)每个像素存一个三维向量,顶点可以被推向任何方向,所以能做出倒钩/悬挑——角、獠牙、鳞刺、卷曲的布褶。高度图只能沿表面法线位移,做不出倒钩,但可以从多个物体渲染,所以做鳞片、石纹、成批的重复元素更合适。一句话:要倒钩用 VDM,要批量重复用高度图。
★ 还有一个很多人真正需要的功能:批量导入。可以把一堆 exr / png 图一次性变成笔刷,导入前还能交换颜色通道、降纹理分辨率省硬盘、加前缀。而且官方明确提到它专门解决 ZBrush 笔刷 up 轴和 Blender 不一致的问题(Brushes that come straight out of ZBrush use a different up-axis than Blender)——想做 ZBrush 笔刷迁移的人,这个通道交换就是干这个用的。
★ 有一条必须提前知道:演示图里的笔刷不是它自带的。官方特意标注了 Shown brushes are made by NSDesign——它是「造笔刷的工具」,不是「笔刷包」,别下回来找笔刷。
★ 包内实测 4 个文件 1,755,258 B:__init__.py(67,150 B,bl_info version=(1,1,9)、blender=(3,5,0))+ BrushEditorSetup.blend(1,571,470 B,配套雕刻场景)+ BrushEditor_5_0_CompositingNodes.blend(81,489 B,Blender 5.0 专用合成节点组)+ LICENSE(35,149 B,GPL 全文)。GPL 许可、官方 $5、兼容 Blender 3.5–5.0。面板在雕刻模式 → N 面板 → Properties → Tools → Brush Texture Editor。
一、VDM 与高度图:能不能出「倒钩」是分水岭
这是它最需要讲清楚的一点,因为它两种都做:
① VDM(矢量位移图)——官方:Vector displacement maps (VDMs) can have overhangs, unlike height maps.
★ 为什么?VDM 每个像素存的是一个三维向量(方向 + 距离),顶点可以被推向任何方向,包括横向、往回折。所以能雕出角、獠牙、鳞片、卷曲布褶、尖刺这类有悬挑的形状。
② 高度图——官方:Height maps only displace vertices in surface normal direction but can be rendered from multiple objects.
★ 取舍是:限制——只能沿法线凸起/凹陷,做不出倒钩;优势——可以从场景里多个物体分别渲出多张高度图(一排鳞片、一堆碎石),而且通用性最好,绝大多数笔刷格式和渲染器都吃高度图。
★ 一句话选择指南:要做「角、牙、爪、卷边」→ VDM;要做「鳞、疤、布纹、石纹、成批重复元素」→ 高度图。
二、三步工作流(官方原话拆解)
官方「How does it work?」极短,但每步都有关键细节:
① Create new brush——opens a new scene and workspace and adds a plane to sculpt on.(打开新场景和新工作区,加一个平面让你雕。)
② 从平面开始雕——用 Blender 自带雕刻工具。★ 官方 tip:Use the displacement eraser to flatten the plane and correct sculpting mistakes(用位移橡皮把平面压平、修错)——这个橡皮是这流程里的关键工具。
③ Render brush and close——will render a VDM or height map (depending on your setting), create a new brush, and a preview automatically. It will also return to your primary scene and switch to the brush you’ve just created.
★ 第 ③ 步那个「自动切到新笔刷」很关键。很多工具做完还要你自己去笔刷面板找、手动选中。它省了这一步,所以你雕完可以立刻接着雕下一块——这就是官方说的 continue sculpting immediately。
★ 官方配套 tip:把默认工作区设成雕刻模式;如果用 Blender 自带的 Sculpting 工作区,这一项已经预设好了。
三、批量导入 + ZBrush 笔刷迁移
① 批量载入——Exr and PNG can be loaded to create brushes in a batch process quickly.(v1.1.2)一次把一堆 exr / png 变成笔刷,不用一张一张建。
② 导入前改图——Swap color channels, reduce texture resolution (to save disk space), or add prefixes.(交换颜色通道、降分辨率省硬盘、加前缀。)
③ ZBrush 上轴——Brushes that come straight out of ZBrush use a different up-axis than Blender. So if you want to migrate your brushes, this might come in handy.
★ 这说明作者是认真做过 ZBrush→Blender 迁移的。上轴不对的笔刷在 Blender 里会歪着,这个通道交换就是干这个用的。
★ 官方警告(原话):I recommend saving the blend file first. Changed images are saved near the blend file. Otherwise, they are saved in a ‘tmp’ folder that will be deleted when Blender gets closed.——先保存 blend 文件,否则改过的图存在 tmp 文件夹,关掉 Blender 就没了。
★ 另外一条实用 tip:笔刷边角被切掉时,把纹理面板里各轴 size 调到 1.1 / 1.2,或降低笔刷 hardness。纹理分辨率可以在插件偏好设置里改。
四、安装 + 面板在哪 + 包内两个 .blend 的区别
包内四个文件(实测):
· __init__.py 67,150 B —— 插件本体(bl_info version=(1,1,9)、blender=(3,5,0))
· BrushEditorSetup.blend 1,571,470 B —— 配套的雕刻演示/起始场景
· BrushEditor_5_0_CompositingNodes.blend 81,489 B —— Blender 5.0 专用的合成节点组
· LICENSE 35,149 B —— GPL 许可证全文
安装:Edit > Preferences > Add-ons > Install…,选 __init__.py(或把整个文件夹放进 scripts/addons/),勾选启用 Sculpting Brush Texture Editor。
★ 面板位置(官方原话):accessed from within sculpt mode in View3D -> Properties -> Tools. Panel ‘Brush Texture Editor’
→ 进入雕刻模式 → 3D 视图按 N → Properties 标签 → Tools → Brush Texture Editor。它只在雕刻模式下出现,在物体模式找不到是正常的。
★ 版本:官方 Blender Version 字段是 3.5 – 5.0;v1.1.9(2025-12-29)的更新说明第一条就是 Fixed addon for Blender 5.0。GPL 许可,官方售价 $5。
原产品页:https://superhivemarket.com/products/sculpting-brush-texture-editor
封面图片来自作者官方产品页。本文为中文整理,功能与兼容性信息以作者官方页面与包内说明为准。资源仅供学习交流,商业使用请购买正版授权。






暂无评论内容